From now on, I'll be working on a longer full length choreographed fight sequence.
More updates very soon.
|
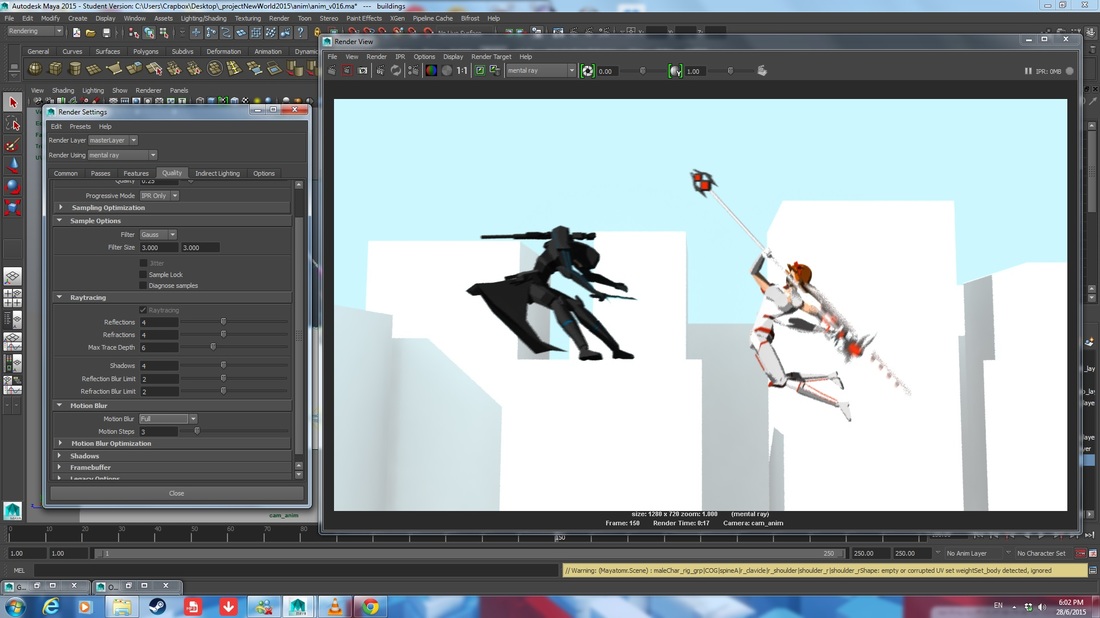
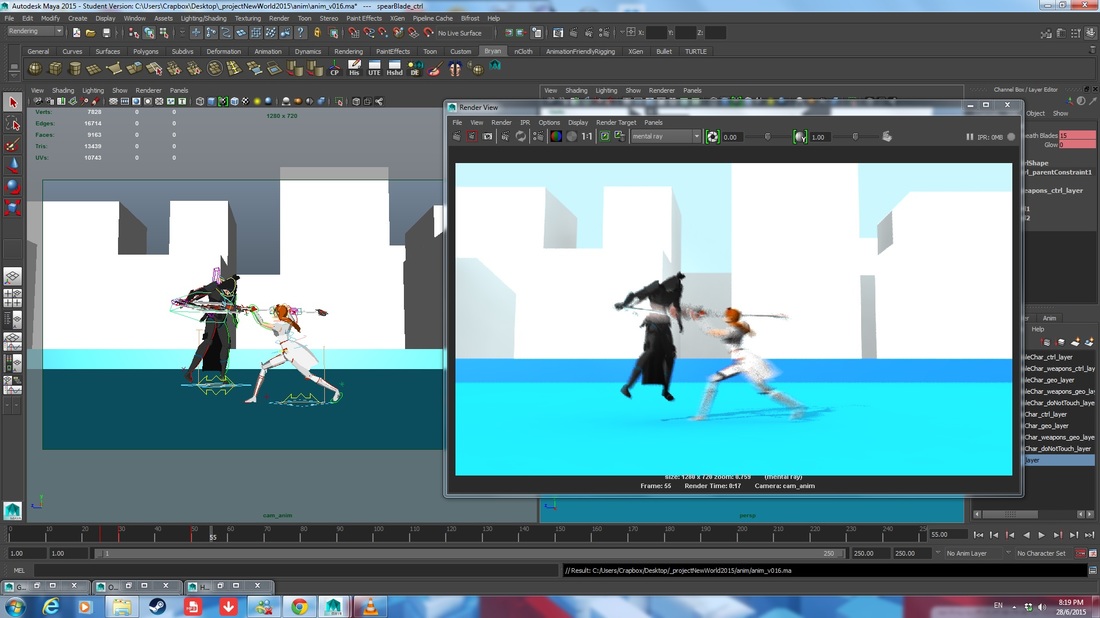
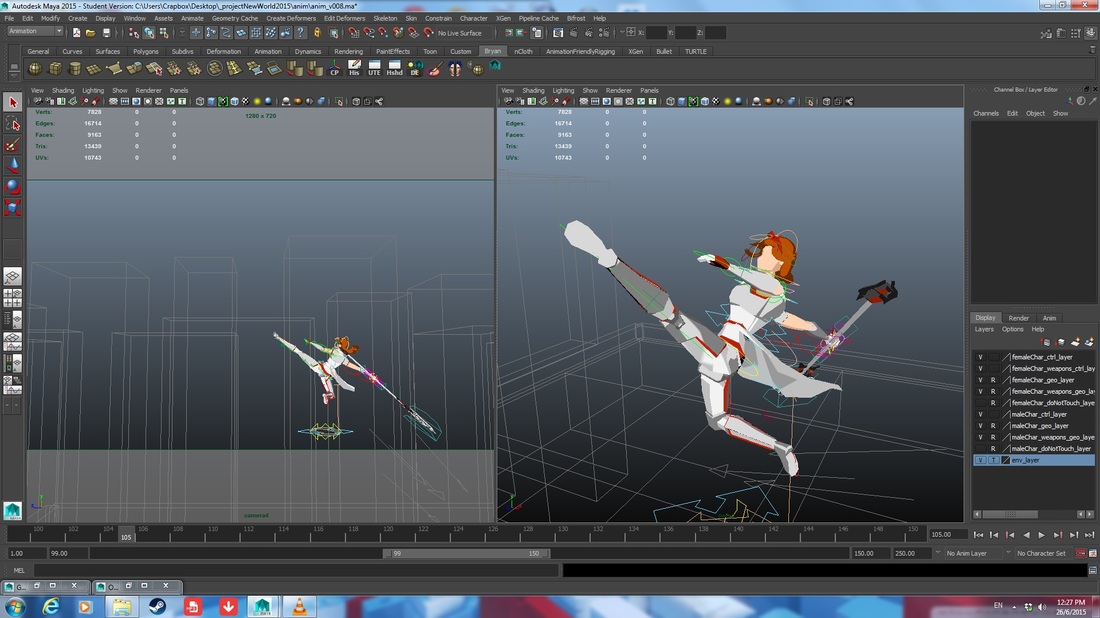
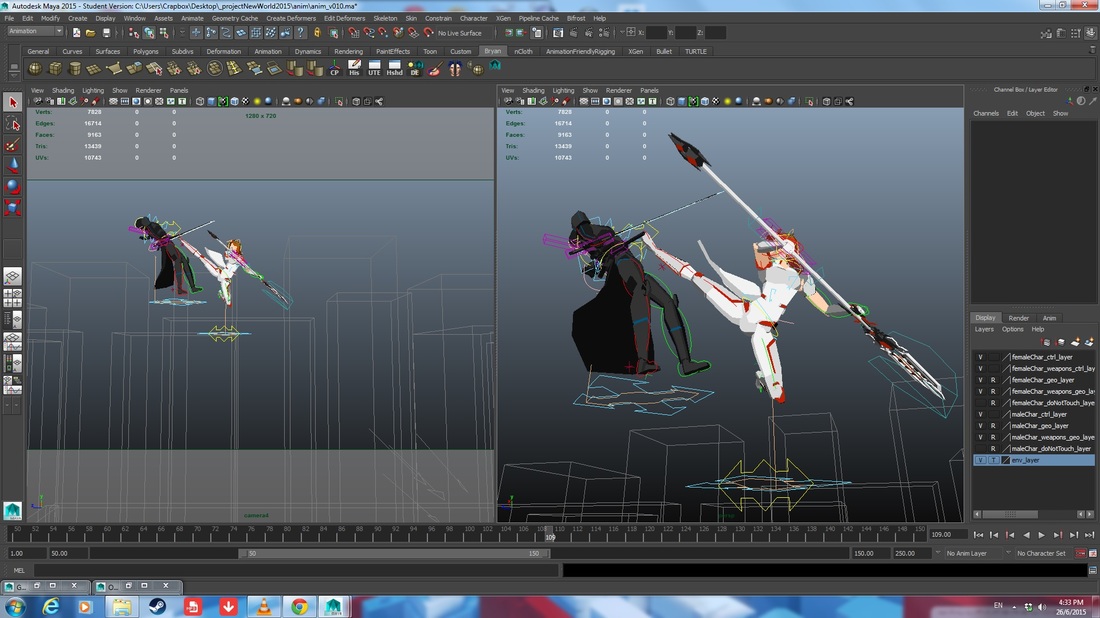
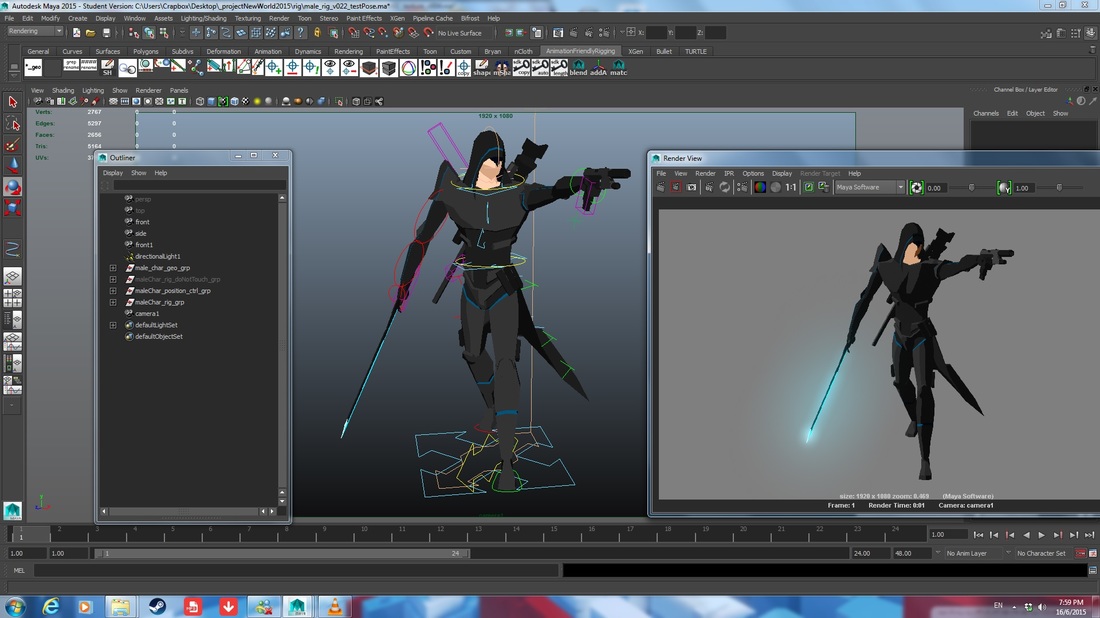
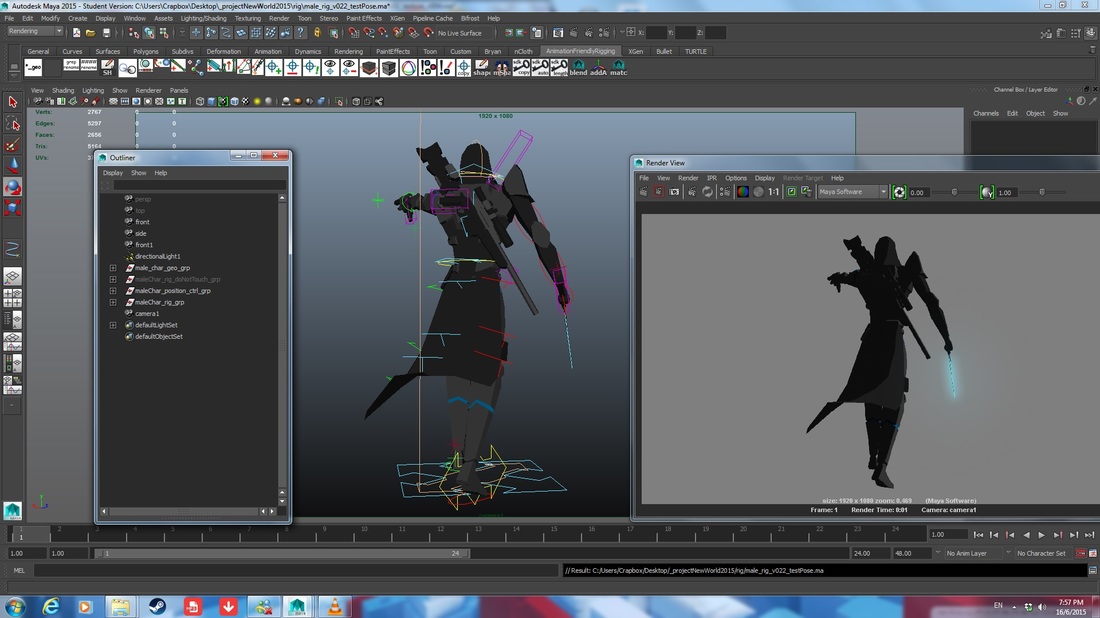
So it's done, my first 13 second animation test footage, implemented with a new style of fight choreography which I've been experimenting on for the past one and a half months.
From now on, I'll be working on a longer full length choreographed fight sequence. More updates very soon.
0 Comments
This will probably be the final animation update concluding all updates that led to this final 10 second shot.
Once this is done I will start on a new and improved male character model/rig. Switched to mental ray for simple final gather rendering. Will render 2 sequences, one with motion blur, one without. Prototype animation in progress.
For intense action fight sequences I usually have to play with a spacing of of 3 to 5 frames for keying the action duration. This would mean I have to rely on the fact that the fight actions are too fast to have the need for detailed key-framing of small actions. Character rig complete. Dynamic hair controls created. All animation controls zeroed and cleaned. Creating the weapon rig for this character was a challenge. It was also a very tedious process as I had to map out the rig joints for the weapon parts, followed by driving the joint movements via 'Set Driven Keys'. Ultimately I managed to achieve what I intended from the beginning so kudos to that. The weapon rig I created has several functions: Metal glow, blade folding, sheath/ left right wield, long blade weapon type, dual blade weapon type & lastly bardiche weapon type.
It is time to start animating. Rig setup for female character is almost complete. I'm left with setting up dynamic hair and cloak controls as well as setting up the weapon rig.
IK to FK control & constraints, how they work:
http://projectnewworld.blogspot.sg/2012/01/rigging-update-main-character-01-60.html From old blog post: "Notes: Let's talk about multiple constraints. For IKtoFK control, while orient constraining, the selection of joints (ik, fk and real) must be in sequence. [Click IK>FK>Real joint] => [IK W1 & FK W0 when IKtoFK is 0] [Click FK>IK>Real joint] => [FK W1 & IK W0 when FKtoIK is 0] [Click IK>FK>Real joint] => [IK W0 & FK W1 when IKtoFK is 10] [Click FK>IK>Real joint] => [FK W0 & IK W1 when FKtoIK is 10] When setting up multiple constraints, the last selection I click on will be the "victim" that will be influenced by previous selections. The master object controlling the constrained object will be pulling it to themselves. The master objects have weights that define which master is "stronger" than the other. For example: Click on cube A, cube B then cube C. Click Parent Constraint. Move cube A away. cube B will remain still. cube C will be pulled by cube A BUT at the same time it will be held back by cube B. Thus, making it stuck in the middle of both cube A and B. Switching between IK and FK controls work the same way. The REAL joint (cube C) will be the one being controlled by the IK and FK joints (cube A and cube B). By changing the weight values in the parent constraint node, cube C will follow the master object which has more weight than the other master. cube A: W1 cube B: W0 cube C: Follow cube A cube A: W0 cube B: W1 cube C: Follow cube B cube A: W1 cube B: W1 cube C: follow both cubes. 50/50 stuck in middle." Pole Vector alignment for arms: http://projectnewworld.blogspot.sg/2012/01/rigging-update-main-character-02-pt-1.html From old blog post: "For setting up pole vector constraint, keep this in mind. Create curve along shoulder to elbow to forearm. Pull the middle point out using "normals average" setting in translate tool. Hold c (along curve tool) and middle mouse drag the iktofk thingy (curve or locator whichever, both are fine) along the "measurement" curve. This will ensure that the elbow control is perfectly aligned with the direction the elbow is actually pointing to. (and that isn't just going backwards. These steps are IMPORTANTbryan)" Female Character and weapon, modeling and texturing complete. With the vast experiences and practices I've had, I've managed to complete polygonal modeling, UV-mapping and texturing, all within this day.
Note: Gave the weapon an alternative glowing geometry which I will implement into the weapon rig. Title says it all, male character rig has been completed. Controls have been cleaned up, 'doNotTouch' elements' attributes have been locked and hidden. Using 'set driven keys' I've created my own personal weapon rig for animation convenience. Points to note: Make full use of 'set driven keys' to drive the controls. With the use of parent constraints I can bind duplicated joints and edit the weight influence based on what I want. Same as the IK and FK blending method, I gave the weapon rig "sheath and wield" attributes which allow the weapons to be either sheathed or positioned in the character's left or right hand.
Tutorial for creating animatable movable pivot in maya:
http://jabimation.com/blog/2007/3/31/movable-pivot-control-in-maya.html?rq=pivot Useful for character actions such as somersaults, rolls, jumps. Basically anything to do with revolving about the center of gravity. |
Archives
July 2018
Bryan Isaac EmmanuelStudent of NTU |